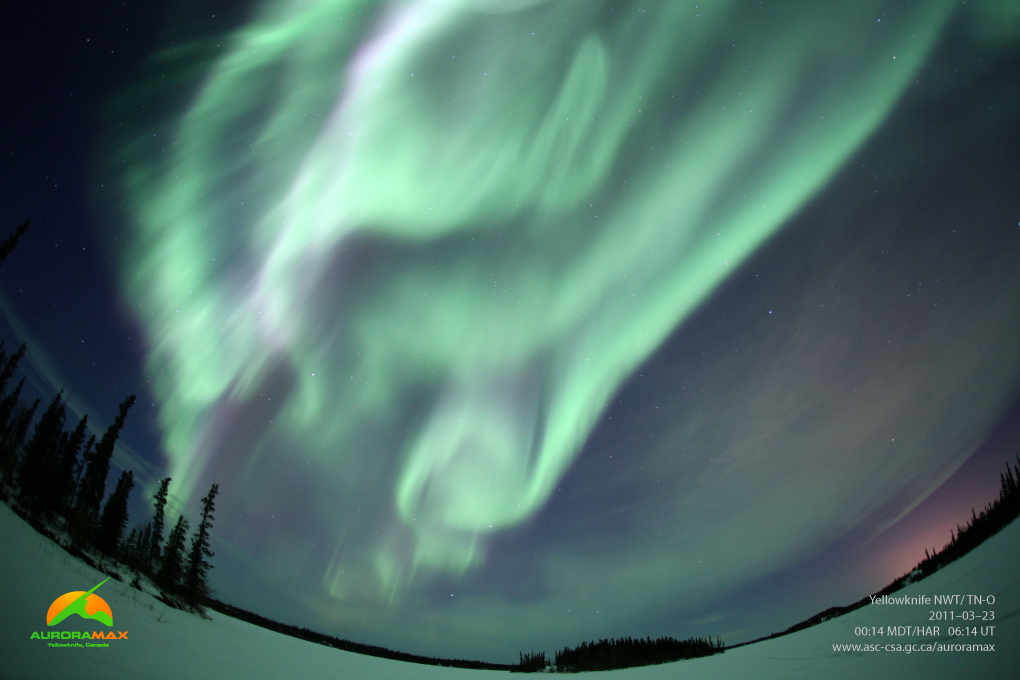
Photographing the aurora
The northern lights are a spectacular display of light. If you get the opportunity to see them with your own eyes, you might also want to capture them on camera!
Equipment required
To photograph the northern lights, you will need the following equipment:
- a camera that is capable of long exposures (at least 10 seconds)
- a sturdy tripod, essential in order to prevent shaking
- a cable release or remote, also to prevent shaking
- a wide-angle lens (ideally)
Steps
Below are the three steps to taking great photos of the northern lights.
1. Find a spot
- Choose a dark location with a clear view of all horizons.
- Using a tripod, angle your camera so your image will include both the sky and the trees, or take an image straight up.
2. Adjust your settings
- Exposure: To prevent star trails from appearing in your photo, set your exposure time to between 10 and 25 seconds. Longer exposures will produce brighter images; however, if the aurora is moving quickly, the image will be fuzzy.
- Aperture: Set the aperture to the lowest possible configuration (f/2.8, f/3.5 or f/5.6, depending on the lens you are using) to ensure there is as much light as possible entering your camera.
- ISO: Set your film speed to either 400 ISO or 800 ISO to record light with sufficient detail. Higher film speeds collect more light and colour, but image quality is often grainy.
- Focus: Focus your camera on the stars. Set your lens on or near infinity for the stars to come into focus. If you are using a digital camera, take a practice photo of the stars and review the image to check the focus.
3. Start snapping
Experiment with different combinations of film speed and exposure length. Moonlight and auroras can change the light conditions quickly, so be prepared to adjust these settings at any time.
Have fun!

